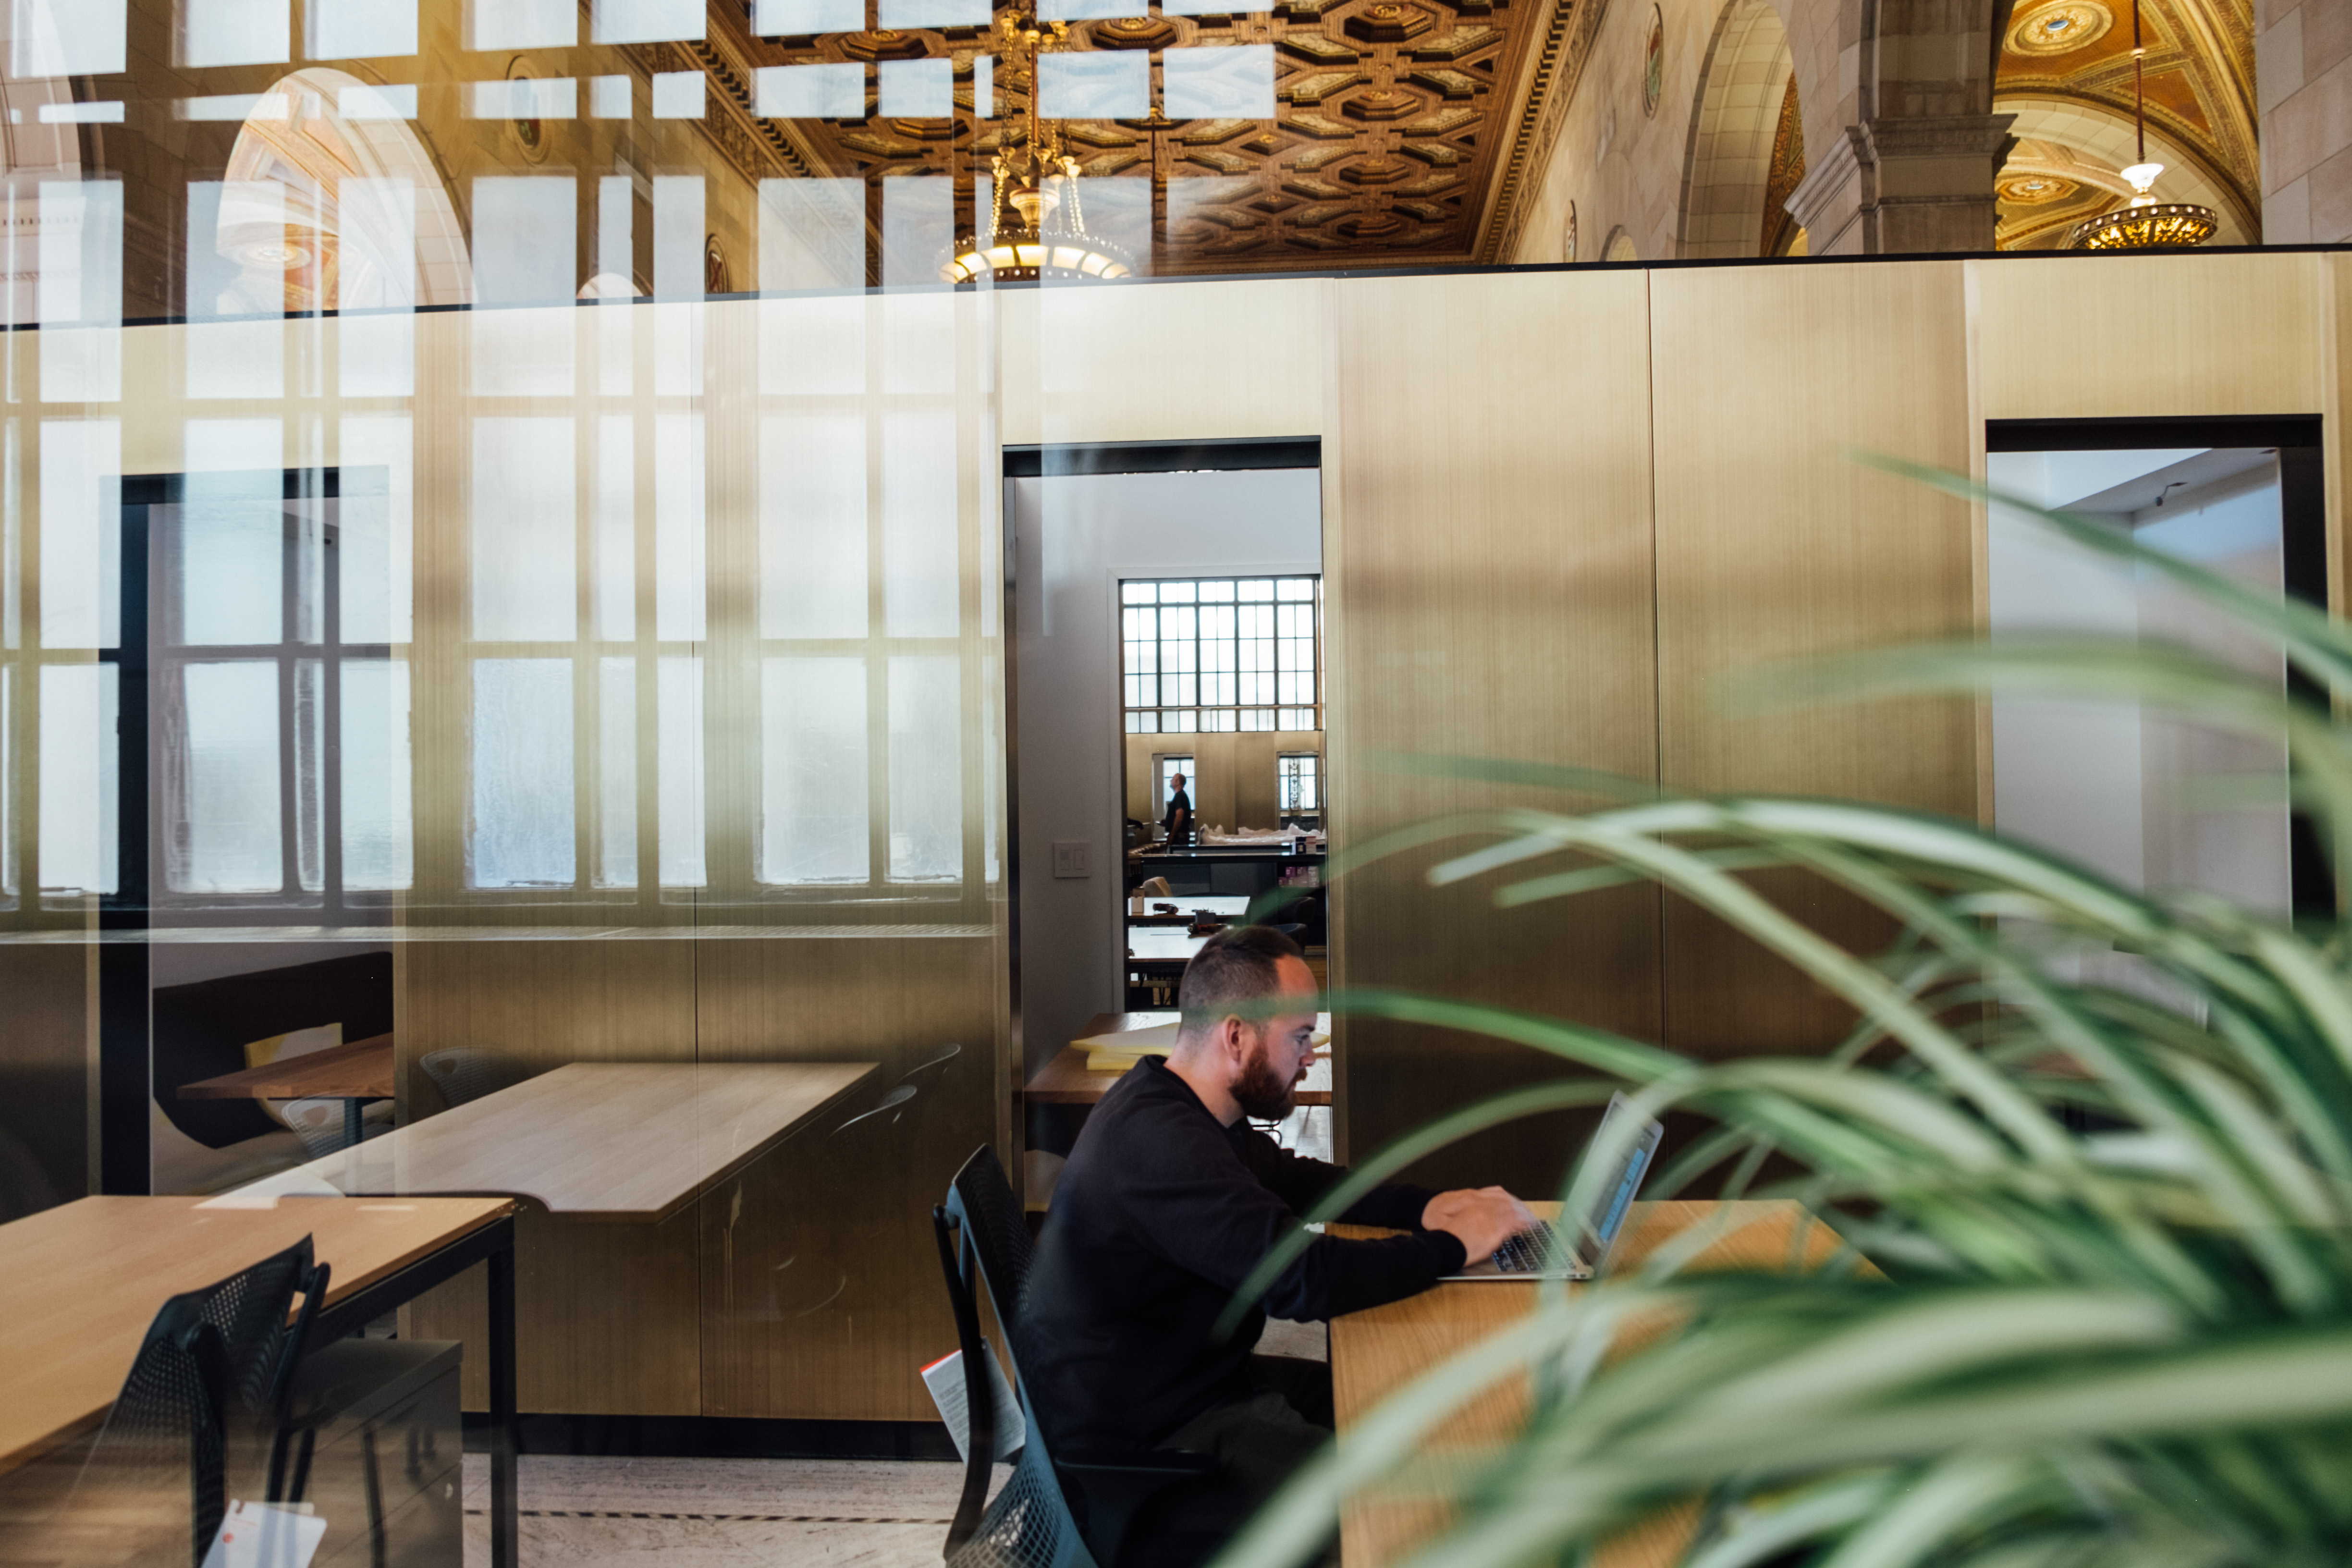
How to Organize an Open Office Desk for Better Focus Without Building a Wall Around Yourself
An open office desk gets messy in a different way from a home office. The problem is not only what sits on the surface. It is the constant visual pull from the room around you.
People walk past. Conversations overlap. Shared supplies migrate. A few extra objects on your desk can make the whole setup feel louder than it really is. Even when the desk is not packed with things, it can still feel mentally crowded.
That is what many people really mean when they search for ways to organize your workspace or think, “I need to organize my office.” They are not looking for a styled desk photo. They want an open office desk that helps them stay focused, look professional, and reset quickly without turning the space into a barricade of gear.
TidySnap helps at exactly that point. You can upload a real photo of your desk and get a visual plan based on your actual monitor, laptop, notebook, headset, bottle, chargers, and the amount of shared space you really have.
Quick Answer
If you want to organize an open office desk, start here:
- keep the desk surface limited to today’s real work tools
- protect the center of the desk for active work only
- group support items into one controlled side zone
- reduce visual noise from paper, cables, and backup gear
- avoid using objects to create fake privacy
- make the desk easy to read at a glance
- finish with a short reset that makes tomorrow easier
For most people, that matters more than buying more desk accessories.
What Makes Open Office Desks Feel Distracting So Fast
In an open office, clutter does not stay private. Every object adds to the visual load of a shared environment.
That usually happens because:
- items stay visible long after you stop using them
- shared supplies collect on the nearest available surface
- cables cross the desk in ways that make the setup feel unresolved
- notebooks, papers, and cups spread outward instead of staying contained
- people compensate for noise by building a heavier-looking desk setup
- the desk becomes part workstation and part personal storage
That last problem matters more than people expect. A desk that stores too much always looks busier, and in an open office that busyness competes with your attention all day.
What People Usually Mean by an Open Office Desk Setup
Most people are not trying to make their desk look empty.
They usually want three simpler things:
- enough order to start work without friction
- enough visual calm to stay focused around other people
- enough structure that the desk still looks professional by mid-afternoon
That is why a good open office desk is usually not minimal for the sake of style. It is selective for the sake of focus.
Start With the Desk Center, Not the Edges
The center of the desk should only support the work you are doing now.
That usually means:
- your main keyboard or laptop zone
- mouse movement space
- one active notebook or current document
- enough open area to write, review, or think briefly without rearranging objects
What usually does not belong in the center:
- spare cables
- snack wrappers
- extra notebooks
- unopened mail or printouts
- headphone cases and adapters you are not using
- office supplies that drifted there by default
If the center becomes a holding zone, the whole desk starts feeling louder than it needs to.
Use One Support Zone Instead of a Desk-Wide Spread
A lot of open office desks look messy because useful items are technically organized, but they are organized everywhere.
A better default is one support zone on your non-dominant side or near the back corner of the desk.
That zone might hold:
- headphones or headset
- one drink
- one notebook stack
- one pen cup or small tray
- one charging point
- one folder for current paper
That keeps support items nearby without making the whole desk feel occupied.
| Item type | Best location | Why it helps |
|---|---|---|
| headset or headphones | back corner or side zone | keeps call gear ready without crowding the center |
| notebook stack | one side only | stops paper from spreading in both directions |
| pen cup or tray | rear edge | keeps small items contained |
| phone and charger | one fixed side path | reduces cable and object drift |
Do Not Build Fake Privacy With Clutter
This is one of the most common open-office mistakes.
People feel exposed in a shared space, so they start surrounding themselves with objects:
- extra notebooks standing upright
- piles of paper
- jackets on the chair back
- bottles, mugs, and supplies along the front edge
- random equipment left visible all day
It can feel comforting for a few minutes, but it usually makes focus worse. The desk starts acting like a wall, and walls made of objects create more visual noise than calm.
If you need more focus, build a clearer desk instead of a taller one.
Keep Paper Light and Contained
Paper becomes a bigger problem in open offices because it spreads sideways and signals unfinished work.
Use a simpler paper rule:
- active paper stays visible
- paper for later today stays in one folder or one short stack
- reference paper should leave the desk when possible
- finished paper should not keep sitting in sight
If paper is your main issue, also read How to Organize a Desk With Too Much Paper Without Letting It Spread Again.
Make Cables Predictable, Not Invisible
Open office cable management does not have to be perfect. It just has to look settled.
Try these defaults:
- route active cables to one side or rear edge
- keep only the cables you are using visible
- avoid crossing the writing zone
- return spare adapters to a drawer or bag
- keep phone charging in one repeatable spot
| Cable problem | Better default |
|---|---|
| laptop cable crossing the front edge | route it along one side |
| multiple chargers visible | keep only the active one out |
| headset cable mixing with laptop power | give each one a clear path |
| spare adapter living on the desk | store it off the main surface |
A clean cable path lowers visual friction even when the room around you is busy.
What Should Stay Visible on an Open Office Desk?
For most people, the answer is less than they think.
Usually you only need:
- one main screen setup
- one input setup
- one active notebook or document
- one support zone
- one drink
What usually does not need to stay visible:
- duplicate pens
- old meeting notes
- backup chargers
- extra office supplies
- unopened paper mail
- personal items that do not help you work today
A desk that can be understood in one glance usually feels easier to work at too.
Better Layouts for Common Open Office Situations
Assigned desk in an open-plan office
Best approach:
- keep your daily tools stable and repeatable
- avoid letting shared items land on your desk permanently
- leave enough clear surface that the desk still feels professional
- use one short reset before lunch or the end of day
Team area where people stop by often
Best approach:
- keep active work centered
- move visitor-facing clutter off the front edge
- contain paper quickly
- keep the desk readable when someone walks up
Open office desk used for calls and focused work
Best approach:
- keep headset gear in one clear zone
- protect one quiet writing area
- keep the background behind your screen from getting crowded
- avoid letting call equipment become all-day desk clutter
If calls are part of the problem, also read How to Organize Your Workspace for Better Video Calls Without Redoing the Whole Room.
If your desk is shared rather than assigned, also read How to Organize a Hot Desk at Work Without Rebuilding Your Setup Every Morning.
Where TidySnap Helps
This is the point where many people get stuck. They understand the advice, but when they sit down at their real desk they still wonder:
- what is making this setup feel visually noisy?
- what deserves space in the center every day?
- what should move into a side zone?
- which object is making the desk feel more crowded than it is?
- how can I make this look calmer without losing function?
TidySnap helps from a real desk photo. It can help you:
- identify which items belong in the active zone
- reduce object spread across the desk
- simplify paper and cable placement
- make the setup look calmer in a shared office
- build a layout that is easier to repeat tomorrow
A 5-Minute Open Office Reset
| Minute | Action | Goal |
|---|---|---|
| 0-1 | throw away trash and remove unrelated items | cut fast visual noise |
| 1-2 | clear the center back to active-work essentials | protect focus space |
| 2-3 | contain notebooks, paper, and loose tools in one side zone | stop desk-wide spread |
| 3-4 | route active cables and remove spare adapters | simplify the visual layout |
| 4-5 | leave only tomorrow’s real essentials visible | make the next start easier |
Common Mistakes
The most common ones are:
- using objects to create a sense of privacy
- leaving paper visible because it feels important
- keeping backup gear on the desk all day
- spreading useful tools across both sides of the desk
- letting the center become a storage area instead of a work area
- assuming more organizers will solve a layout problem
FAQ
How do I organize an open office desk without making it look bare?
Aim for clarity, not emptiness. Keep daily tools visible, but group support items into one contained zone and protect the center for active work.
What should stay on my desk in an open office?
Usually just your main computer setup, one current notebook or document, one support cluster, and one drink. Everything else should earn its space.
How do I make my desk feel calmer in a noisy office?
You may not be able to control the room, but you can reduce visual noise on your own surface. A simpler desk center, lighter paper load, and more predictable cable path usually help quickly.
Is this different from organizing a hot desk?
Yes. A hot desk article is mostly about portability and setup speed. An open office desk is more about visual calm, professionalism, and protecting focus in a shared environment.
Final Thought
A better open office desk is not about pretending the office is quiet. It is about making your own surface feel settled enough that the rest of the room takes up less mental space.
That is where a small amount of structure goes a long way, and where TidySnap can help turn one real desk photo into a layout you can actually use.