How to Organize a Standing Desk for Daily Work Without Turning It Into a Gear Pile
A standing desk can solve one problem and quietly create another.
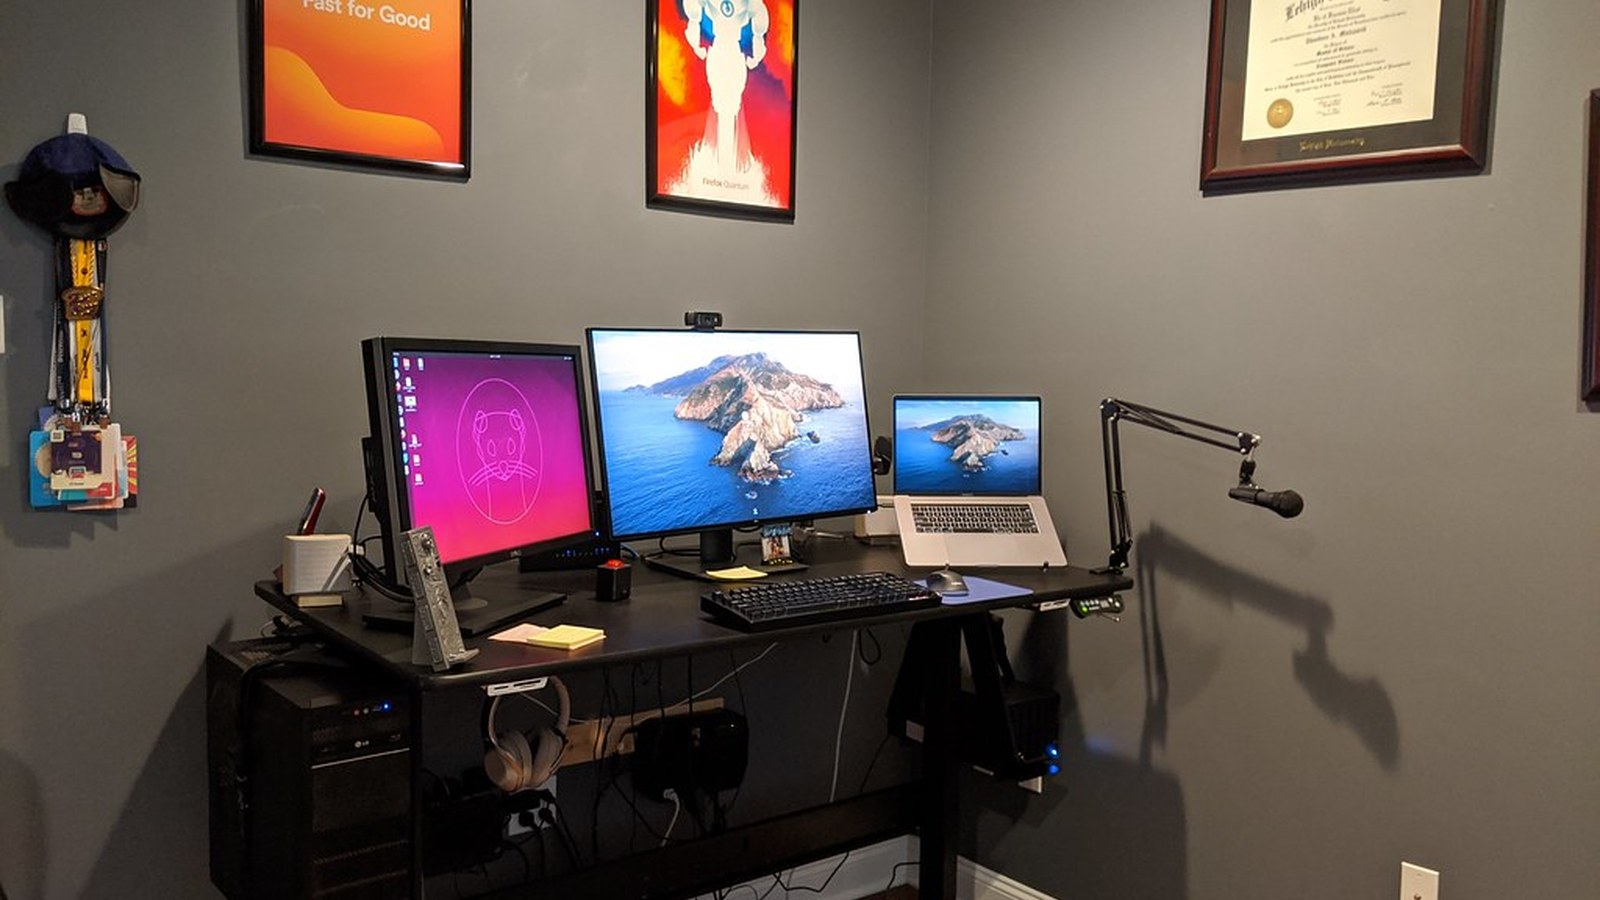
You get more flexibility, more movement, and a setup that looks like it should feel better. But over time, many standing desks collect the same problems as any other workstation: crowded accessories, visible cables, awkward screen placement, backup gear that never leaves the surface, and a desk that technically works but does not feel calm.
That is usually what people mean when they search for ways to organize your workspace around a standing desk. They are not trying to build a perfect productivity shrine. They want the desk to feel clear enough for real daily work.
TidySnap helps at exactly that point. You can upload a real photo of your workstation and turn general organization advice into a visual cleanup plan based on your actual monitor, laptop, keyboard, accessories, and desk surface.
Quick Answer
If you want to organize a standing desk for daily work, start here:
- decide which items truly need to stay on the desk all day
- keep the main keyboard and monitor zone clear
- group accessories into one support area instead of spreading them out
- route cables so they rise and move cleanly with the desk
- remove backup gear from the main surface
- leave open space for active work, not just equipment
- reset the setup to the same layout at the end of the day
For most people, those seven changes improve the workstation more than buying another organizer.
Why Standing Desks Still End Up Feeling Cluttered
A standing desk often gets messy for a simple reason: it looks like it can hold more than it should.
People start adding:
- monitor risers or arms
- laptop stands
- chargers and docks
- notebooks and paper
- headphones
- speakers
- water bottles
- decorative extras
- backup cables and adapters
The problem is not that these items are all useless. The problem is that a standing desk works best when the active work zone stays easy to read at a glance.
When too many objects live under the monitor line or around the keyboard, the desk starts feeling heavy even if it still looks fairly neat.
Start With the Real Work Position
A lot of standing desk setups feel awkward because they are organized around gear instead of posture.
Before you rearrange accessories, check the basics:
- where you actually stand or sit most often
- which screen you look at the most
- where your hands naturally fall for typing
- whether you still have writing or note-taking space
- whether the mouse path stays clear
This matters because an organized standing desk is not just one that looks tidy. It should also feel natural in the position you use most.
Keep the Main Work Zone Clean
The main work zone is the area that supports your core task.
On most standing desks, that means:
- monitor or primary screen
- keyboard
- mouse or trackpad
- one active notebook or one current document
If that zone gets crowded by chargers, cups, speakers, unopened mail, backup notebooks, or random tech, the workstation starts acting like storage instead of a place to work.
A simple rule:
| Zone | What belongs there | What should move out |
|---|---|---|
| main work zone | primary screen, keyboard, mouse, one active work item | backup accessories, loose cables, extra paper |
| support zone | one charger, one notebook, one tool cup, headphones | overflow paper, duplicate devices |
| off-desk storage | archive items, spare adapters, low-use tech | anything you do not need today |
That separation usually makes the desk feel better fast.
Use One Support Cluster, Not Accessory Spread
Standing desks often look cluttered because every useful object gets its own little home.
You may have:
- a notebook on one side
- a charger on the other side
- headphones near the monitor
- pens near the front edge
- sticky notes drifting under the screen
A better setup is one contained support cluster.
That cluster might include:
- one notebook or task pad
- one small tray or pen cup
- one charging spot
- headphones or one daily-use accessory
Keep it to one side of the desk so the center stays readable and the desk can move up and down without feeling overloaded.
Cable Management Matters More on a Standing Desk
Cables create more friction on a standing desk than on a fixed desk because they have to move with the surface.
If cable paths are messy, you get both visual noise and practical annoyance.
A good default setup looks like this:
- monitor and power cables follow one rear path
- charging cables stay to one reachable side
- extra cable length stays controlled instead of hanging into leg space
- rarely used adapters move off the surface
| Cable type | Better placement | Why it helps |
|---|---|---|
| monitor and power lines | rear edge or cable spine | keeps the setup visually lighter |
| phone or laptop charging cable | one side corner | avoids crossing the keyboard zone |
| backup adapters | drawer, tray, or shelf | stops the desk from becoming tech storage |
| extra slack | tied or guided behind the desk | helps movement feel cleaner |
If cables cut across the center of the desk, the workstation will usually feel busier than it really is.
Do Not Let Accessories Replace Empty Space
One of the easiest mistakes with standing desks is filling every open area with a productivity object.
Empty space is useful.
It gives you room to:
- write a quick note
- set down a temporary document
- move the keyboard slightly when needed
- place a drink without causing a chain reaction
- make the desk feel visually lighter
A standing desk that is fully optimized with objects can still feel mentally crowded.
What Should Stay on a Standing Desk Every Day?
Most people do better when the permanent desk setup is smaller than they expect.
Usually you only need:
- one main screen setup
- one input setup
- one current notebook or pad
- one contained support cluster
- one drink
- one small amount of personal detail
What usually does not need to stay visible all day:
- spare charging bricks
- unopened mail
- duplicate headphones
- backup stationery
- old sticky notes
- paperwork from finished tasks
- accessories you only touch once a week
The desk should support the day you are working through now, not every future scenario.
A Better Layout for Common Standing Desk Setups
Laptop plus monitor standing desk
Best approach:
- decide which screen is primary
- keep the secondary device from blocking the keyboard area
- route both cable paths toward one side or rear edge
- protect one writing zone below the main screen
If your real issue is balancing two screens, read How to Organize a Laptop and Monitor Desk Setup Without Losing Work Surface.
Single-monitor standing desk
Best approach:
- center the monitor around your actual work position
- keep support items to one side only
- avoid letting the back edge become gadget storage
- leave the front half of the desk usable
Compact standing desk
Best approach:
- keep only daily-use items on the surface
- move paperwork off the desk quickly
- use one portable support container if needed
- protect the center from becoming a catch-all
If your challenge is mostly size, read How to Organize Your Workspace When Your Desk Is Too Small.
Where TidySnap Helps
This is where a lot of people stall. They understand the general advice, but when they look at the actual workstation they still wonder:
- what is making the desk feel crowded?
- which accessories deserve to stay out?
- where should the notebook and charger really go?
- what is creating unnecessary visual noise?
- how can the desk feel cleaner without losing functionality?
TidySnap helps from a real photo of your standing desk. It can help you:
- identify overloaded zones around the screen and keyboard
- separate daily-use tools from background clutter
- spot cable paths that make the desk feel messy
- protect the part of the desk you actively work on
- create an after-state you can repeat tomorrow
That matters because a standing desk often looks almost organized while still feeling harder to use than it should.
A 10-Minute Standing Desk Reset
| Minute | Action | Goal |
|---|---|---|
| 0-2 | remove cups, trash, and obvious non-work items | cut fast visual noise |
| 2-4 | return the screen, keyboard, and mouse to the intended layout | restore the core work zone |
| 4-6 | group accessories into one support cluster | reduce scattered items |
| 6-8 | route cables back to one clean path | lower visual friction |
| 8-10 | clear one open area for active work | make the desk usable again |
Common Mistakes
The most common ones are:
- treating every useful object like it needs desk space
- letting the back edge fill with random tech
- keeping too many visible cables in the center area
- storing paperwork under the monitor line
- adding more accessories instead of reducing categories
- forgetting that open space is part of an organized setup
A standing desk should feel easier to use, not more crowded because it looks adjustable and capable.
Final Takeaway
If you want to organize a standing desk for daily work, start by protecting the main work zone.
Keep the center clear, move support items into one contained side cluster, route cables cleanly, and remove backup gear that does not need to live on the surface. That is what makes the desk feel lighter, calmer, and easier to maintain.
And if you want help turning your real workstation into a practical cleanup plan, TidySnap can turn one workspace photo into a visual before-and-after direction built around the desk you actually use.
FAQ
What should stay on a standing desk?
Usually only daily-use items should stay visible: your main screen, keyboard, mouse, one current notebook, and one small support cluster for essentials.
How do I keep a standing desk from looking cluttered?
Keep the center work zone clear, group accessories into one side area, route cables to one path, and move low-use items off the desk.
Are standing desks harder to organize than regular desks?
They can be, because cable movement and accessory sprawl create extra friction. But a simpler layout usually solves more than buying more gear.
Where should cables go on a standing desk?
Monitor and power lines usually work best along one rear path, while charging cables should stay to one side so they do not cross the keyboard or writing area.
Can TidySnap help organize a standing desk?
Yes. TidySnap can analyze a photo of your actual setup and help you see what is crowding the work zone, what should move, and what kind of layout will be easier to maintain.