How to Organize a Creative Workstation for Daily Design Work Without Losing Your Clear Desk
A creative workstation gets messy in a different way than a standard office desk.
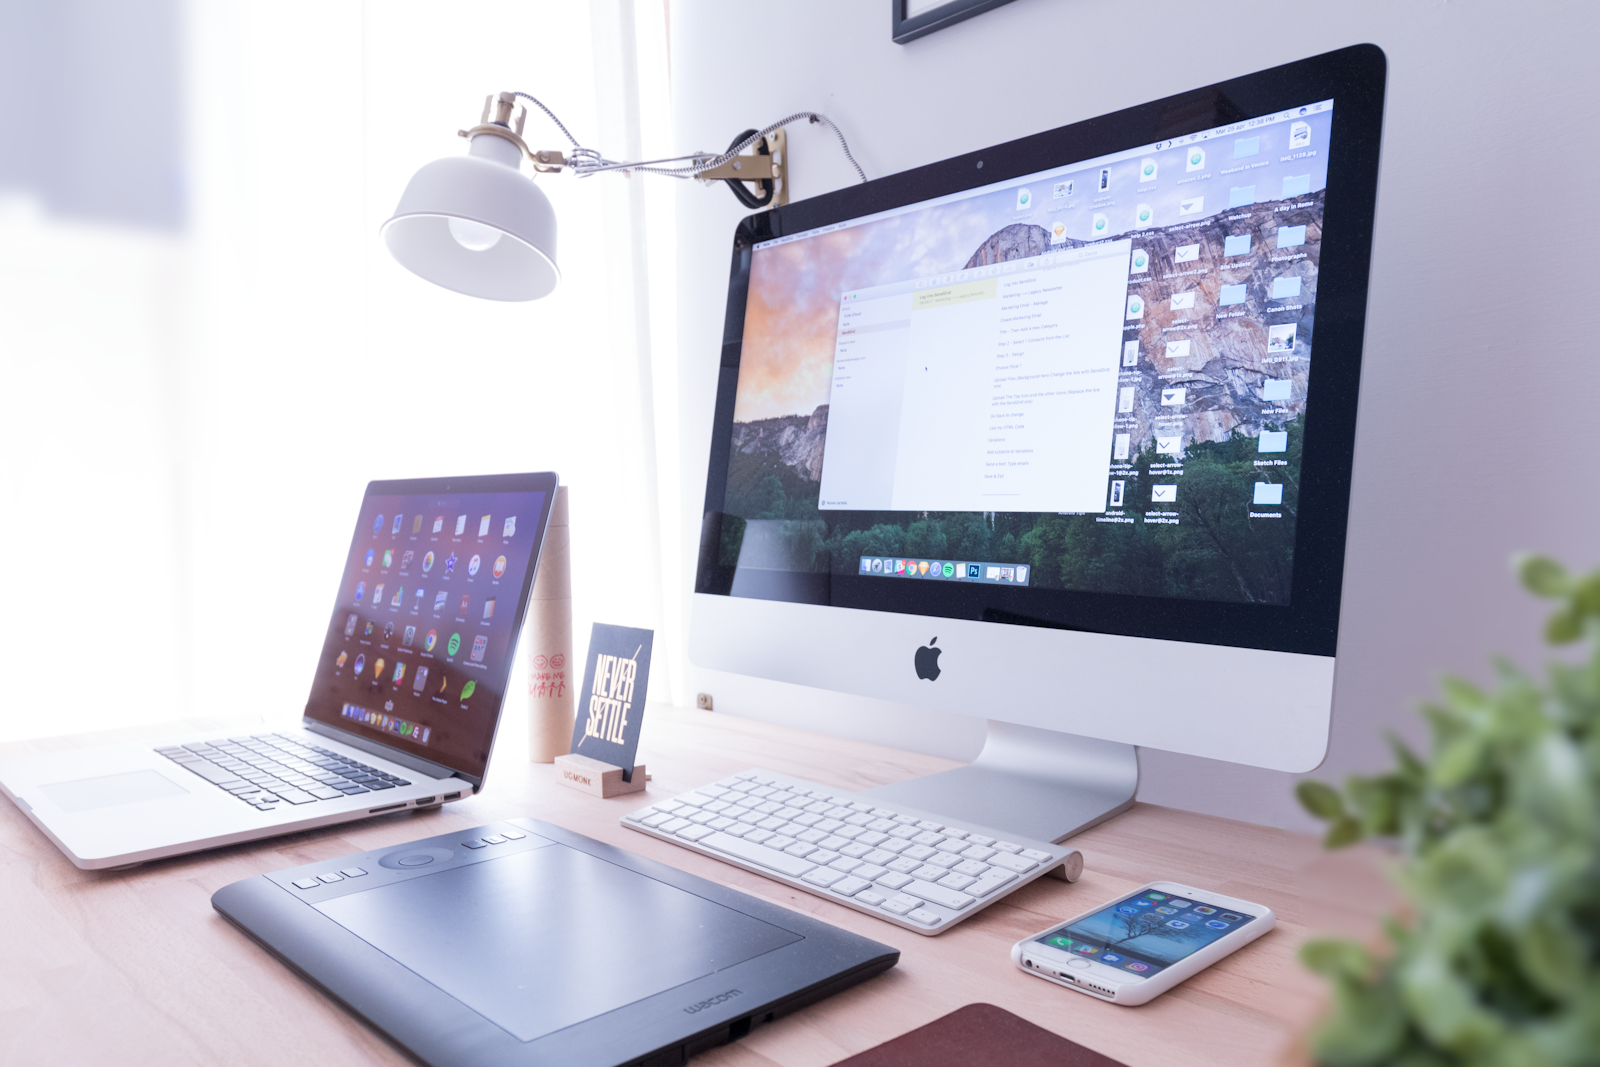
You may have one main screen, a laptop nearby, a drawing tablet, a notebook, reference items, cables, chargers, and a few small tools that all feel justified. Nothing looks random on its own. But when everything stays visible at once, the desk starts feeling full before the workday even gets going.
That is often what people really mean when they search for ways to organize your workspace or think, “I need to organize my office.” They do not want a sterile setup with no tools in sight. They want a desk that still supports real design work, editing, sketching, and review without turning into a permanent equipment shelf.
TidySnap helps at exactly that point. You can upload a real photo of your workstation and turn general advice into a practical visual plan based on your actual screen setup, tablet, notebook, tools, and clutter patterns.
Quick Answer
If you want to organize a creative workstation, start here:
- choose one true primary work zone
- keep the tablet or input tool easy to reach but not permanently in the center unless you use it all day
- limit the desk surface to active tools, not backup gear
- group cables, adapters, and accessories into one support zone
- stop the area below the main screen from becoming storage
- leave open space for sketching, reviewing, or temporary items
- reset the desk back to one default layout at the end of the day
For most people, that improves the setup more than buying another organizer.
What People Usually Mean by a Creative Workstation
A creative workstation often has to support more than one mode of work:
- focused screen work
- sketching, retouching, or tablet input
- note-taking and quick planning
- reviewing reference material
- light device switching between desktop, laptop, or phone
The problem is not that any one of these tasks is messy. The problem is that they all compete for the same desk center.
That is when the desk starts holding:
- one large screen setup
- one secondary device that never fully leaves
- one tablet or input surface
- one notebook or sketch pad
- one cluster of cables and adapters
- a few small tools that spread wider than expected
The workstation still works, but it stops feeling clear.
Why Creative Desks Fill Up So Fast
Creative desks attract surface clutter because many tools feel active even when they are not in use right now.
That often includes:
- tablet and stylus
- laptop
- card reader or hub
- charging cable
- headphones
- notebook
- reference printout
- camera or storage accessory
- drink and daily personal items
The desk may still look fairly organized from far away, but it feels crowded in use because the work surface is doing too many jobs at the same time.
That is why the best fix is usually not more storage first. It is deciding which tools deserve the center during the task you are doing now.
Choose One True Primary Work Zone
A creative workstation usually feels better as soon as one area becomes clearly primary.
For many people, that primary zone is:
- the main screen
- keyboard or main input device
- mouse or stylus path
- one current notebook or one active reference item
If that area fills up with backup cables, old notes, unopened accessories, or tools you only use occasionally, the desk starts feeling heavier than it needs to.
A simple rule:
| Work mode | What belongs in the center | What should move aside |
|---|---|---|
| screen-first design work | main display, keyboard, mouse, one active note | extra devices, adapters, archived paper |
| tablet-first work | tablet, stylus, one reference item, clear hand space | keyboard clutter, backup tech, extra stationery |
| review and planning | one notebook or printout, one pen, one screen | inactive input devices, loose cables, extra accessories |
That one distinction makes the workstation easier to read and easier to reset.
Keep the Tablet Ready, Not Permanent
A lot of creative desks lose their flexibility because the tablet stays parked in the middle all day whether it is needed or not.
If you use a drawing tablet or similar input tool, a better default is:
- keep it within easy reach
- slide it into the center only when the task needs it
- avoid stacking smaller items on or around it
- return it to one predictable side or front position after use
The goal is not to hide the tool. The goal is to stop one device from quietly taking over the whole active work area.
Build One Support Zone for Small Tech and Tools
Many creative workstations feel busier than they really are because the small support items scatter everywhere.
That often includes:
- stylus case
- charging cable
- adapter or hub
- headphones
- external drive
- notebook
- sticky notes
- phone stand or charger
A better setup is one support zone on one side of the desk. That zone can hold:
- one tray or small container for tech accessories
- one charging spot
- one notebook or task pad
- one place for headphones or one daily-use tool
Grouping these items reduces visual noise and keeps the center of the desk usable.
Stop the Area Below the Main Screen From Becoming Storage
Creative setups often become frustrating when the space below the display turns into a holding area.
That zone often collects:
- stylus and pens
- adapters
- sticky notes
- camera cards or small tools
- charging cables
- old reference paper
The issue is not only clutter. It is that this area sits at the center of your visual field.
If it fills up, the whole desk starts feeling busy even when the rest of the surface is reasonably clean.
A better rule is simple:
- keep only the current tool or current note near the screen line
- move backup items into the support zone
- do not treat the display base as storage
Leave Real Empty Space for Creative Work
One of the easiest mistakes with a creative workstation is replacing every open area with another useful object.
Empty space is part of the setup.
It gives you room to:
- sketch a quick idea
- set down a proof or printout
- rest your hand while using a stylus
- review something without moving five other items first
- keep the desk feeling visually calm
An organized workstation is not one that holds the maximum number of tools. It is one that still leaves room for the next step of work.
Keep Cables and Adapters on One Route
Creative workstations often collect more cable clutter than standard desks because they have more devices, more charging needs, and more small accessories.
A stronger default is:
- route main power and display lines behind the screen
- keep the daily charging cable on one reachable side
- move spare adapters off the main surface
- avoid running cords across the notebook or tablet area
| Item | Better location | Why it helps |
|---|---|---|
| daily charging cable | one side corner | keeps the center clearer |
| adapter or hub | support zone or rear edge | reduces tech spread |
| external drive | side zone, not under the screen | keeps active space open |
| spare cables | drawer, tray, or shelf | stops backup gear from becoming decor |
If your hand keeps working around cables and adapters, the desk is still doing too much.
Better Layouts for Common Creative Setups
Desktop-first creative workstation
Best approach:
- center the main screen around your real working position
- keep the tablet easy to pull forward when needed
- limit the visible accessories to daily-use items
- stop the desk edges from becoming storage lanes
Laptop plus desktop creative setup
Best approach:
- decide which device is primary during most work
- avoid letting the second device block the sketching area
- group shared cables and adapters into one side zone
- protect one clean zone for reviewing or note-taking
If your challenge is mostly about balancing devices, read How to Organize a Laptop and Monitor Desk Setup Without Losing Work Surface.
Small creative desk
Best approach:
- keep only one input tool in the center at a time
- move low-use gear off the desk quickly
- protect one open area for current work
- keep support items in one contained cluster
If your issue is mostly desk size, read How to Organize Your Workspace When Your Desk Is Too Small.
Where TidySnap Helps
This is where many people stall. They understand the advice in theory, but when they look at their own setup they still wonder:
- which tool actually deserves the center?
- what should stay visible every day?
- what is making the desk feel crowded even when it looks tidy?
- where should the tablet, notebook, and small tech really go?
TidySnap helps from a real photo of your creative workstation. It can help you:
- identify which zone is overloaded
- separate active tools from background gear
- reduce cable and adapter clutter
- protect the space you actually create in
- build a layout you can repeat tomorrow
A 10-Minute Reset for a Creative Workstation
| Minute | Action | Goal |
|---|---|---|
| 0-2 | remove cups, trash, and unrelated items | clear fast visual noise |
| 2-4 | return the main screen area to its default layout | restore the primary work zone |
| 4-6 | move tablet, notebook, or printouts back to one intended position | reduce tool spread |
| 6-8 | return adapters and cables to one side zone | cut tech clutter |
| 8-10 | leave one open area ready for the next session | make the desk easier to restart |
Common Mistakes
The most common mistakes are:
- leaving every creative tool visible because it might be needed later
- letting the tablet or input device live in the center all day
- storing adapters and cables below the main screen
- keeping backup gear on the desk because it feels work-related
- filling every open area with another useful object
FAQ
How do I organize a creative workstation without hiding the tools I actually use?
Keep daily-use tools visible, but group them into one support zone and leave only the current task tools in the center. The desk should support the work you are doing now, not every tool you own.
Should a drawing tablet stay on the desk all the time?
It can stay on the desk if you use it every session, but it should not permanently block the main work zone. Keep it easy to pull forward, then return it to one predictable position when you switch tasks.
What makes a creative desk feel cluttered even when it is technically organized?
Usually it is visual competition. Too many justified items stay visible at once, especially below the main screen. The desk may be neat, but it still feels crowded because the center is doing too many jobs.
Do I need extra storage to make a creative workstation feel cleaner?
Not always. Many creative desks improve faster when you reduce tool spread, group small tech, and protect one clear work zone before adding more containers.
Final Thought
A creative workstation does not need to look empty. It just needs to feel intentional.
When the main work zone stays clear, the small tools stay grouped, and the desk still leaves room for the next part of the job, the whole setup becomes easier to use and easier to maintain.
If you want help turning that idea into a plan for your own desk, TidySnap can map it from a real photo.