How to Organize a Minimal Developer Desk at Home Without Losing Useful Tools
A developer desk gets cluttered in a very believable way.
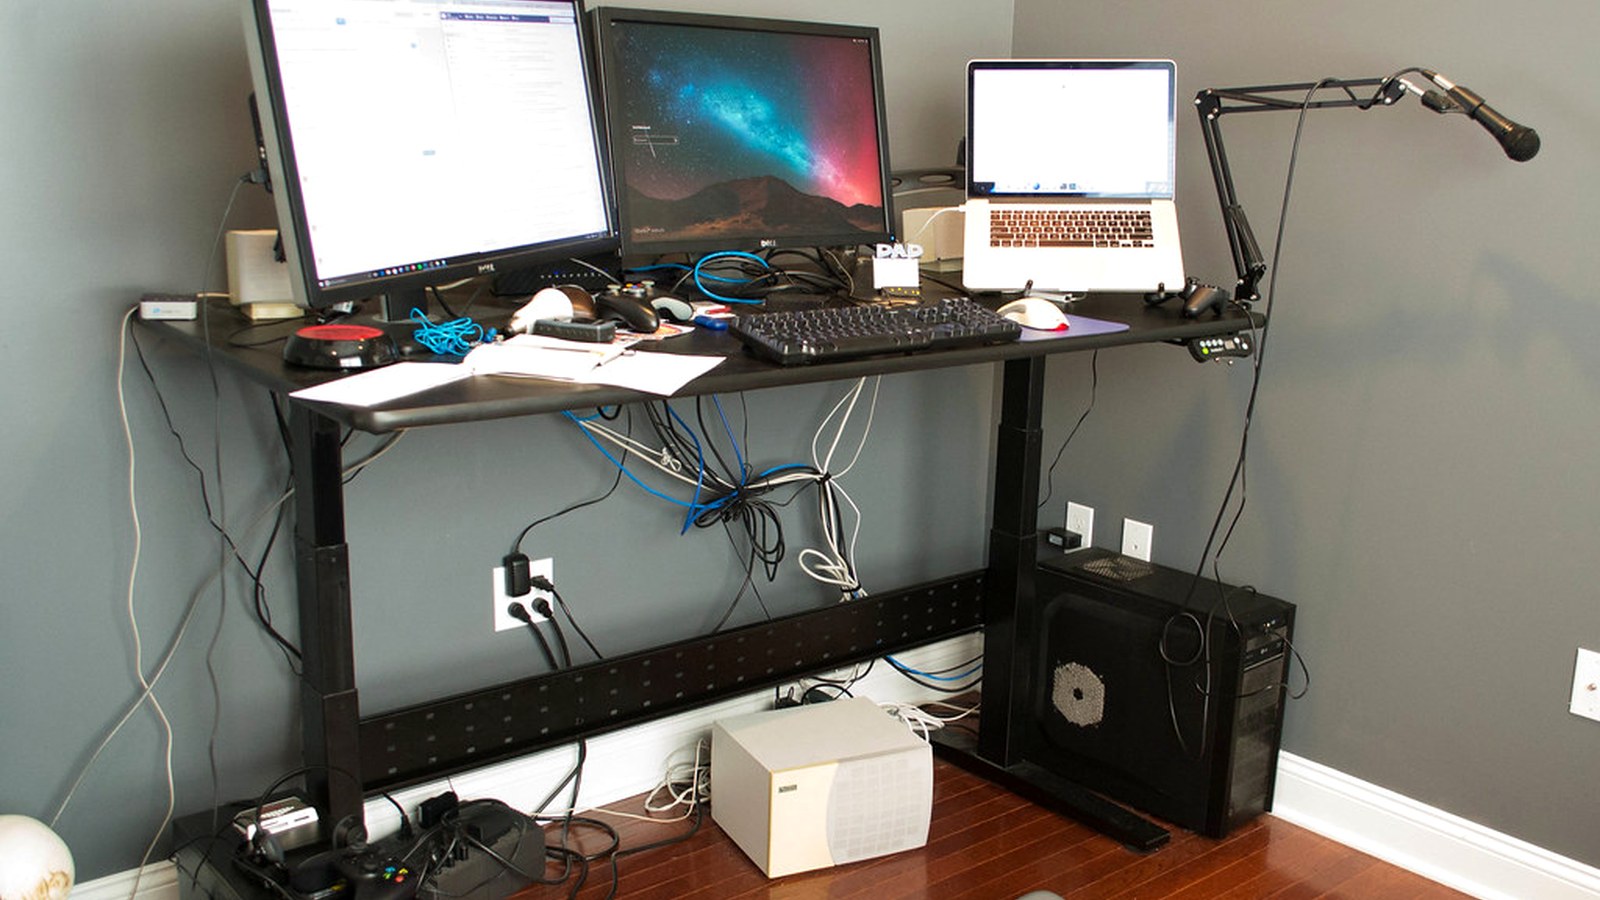
You have the laptop, maybe a monitor, headphones for calls, a charger you actually use, one notebook for quick logic or meeting notes, and a few small tools that all earn their place. Nothing looks dramatic. But once those items stay visible all day, the desk starts feeling busy, and the setup gets harder to read at a glance.
That is often what people really mean when they search for ways to organize your workspace or think, “I need to organize my office.” They are not trying to build a showroom setup. They want a desk that supports coding, debugging, meetings, and quick notes without making the whole workday feel visually noisy.
TidySnap helps at exactly that point. You can upload a real photo of your desk and turn general organization advice into a practical visual plan based on your actual laptop, monitor, cables, notebook, and support tools.
Quick Answer
If you want to organize a minimal developer desk at home, start here:
- choose one true primary screen and build around it
- keep the keyboard and mouse path clear of backup gear
- group headphones, chargers, and small tech into one support zone
- leave one open area for quick notes and temporary tasks
- keep cables routed to one side or rear path
- remove low-use accessories from the desk surface
- reset the setup back to one default layout at the end of the day
For most people, that does more than buying another desk accessory.
What People Usually Mean by a Minimal Developer Desk
A minimal developer desk is not a desk with almost nothing on it.
It is usually a desk where the main work tools are easy to see and easy to use, but the support items do not spread into every open space.
That often means balancing:
- one laptop or main computer
- one screen you use most
- one keyboard and mouse path
- one notebook or pad for quick thinking
- one small cluster of daily-use tech
- one clean visual line around the main work area
The goal is not emptiness. The goal is lower friction.
Why Developer Desks Feel Crowded So Fast
A coding setup often grows slowly.
You add:
- headphones for meetings
- one charging cable
- one extra adapter
- a notebook for rough logic or action items
- a phone stand or charger
- one speaker, dock, or small tech item
Each item feels reasonable, so the desk still looks fine from a distance. But the center of the setup becomes less clear. The notebook ends up under the monitor. The cable crosses the writing path. The headphones stay on the desk all day. The result is not extreme clutter. It is constant low-level friction.
That is why a developer desk usually improves faster from clearer boundaries than from buying more storage.
Choose One True Primary Screen
Many desks feel awkward because both the laptop and monitor are treated like the center.
Usually one screen should lead.
If the monitor is your primary screen:
- center it around your actual sitting position
- keep the laptop off to one side or slightly behind the main work line
- avoid pushing the keyboard too far forward just to fit both screens
If the laptop is your primary screen:
- protect the laptop position first
- keep the external screen in a clear supporting role
- make sure the second screen does not swallow your notebook space
| Screen setup | What belongs in the center | What should move aside |
|---|---|---|
| laptop-first | laptop, keyboard area, one active note | extra accessories, spare chargers, older notes |
| monitor-first | main screen, keyboard, mouse, one current task item | backup devices, loose adapters, random tech |
| hybrid | the screen you use most, one note area, one input path | anything that blocks quick hand movement |
That one decision makes the rest of the desk easier to organize.
Keep One Support Zone for Small Tech
A developer desk usually feels busier than it is because the small useful objects scatter.
That often includes:
- headphones
- charging cable
- adapter or dongle
- phone
- notebook
- pen
- external drive or small accessory
A better default is one support zone on one side of the desk. That zone can hold:
- one charging spot
- one place for headphones
- one notebook or small task pad
- one tray for adapters or tiny accessories
Grouping these items reduces visual noise and makes the setup easier to reset.
Protect the Area Below the Main Screen
A lot of developer desks lose clarity because the space below the display turns into a holding area.
That area often collects:
- sticky notes
- adapters
- charging cables
- headphones
- old notebook pages
- small gadgets that feel too useful to put away
The problem is not only surface clutter. It is that this area sits at the center of the setup.
If it fills up, the whole desk starts feeling heavier.
A better rule is simple:
- keep only one current note or one current accessory near the screen line
- move the rest to the support zone
- do not treat the area under the monitor as permanent storage
Leave One Open Zone for Thinking Work
Even highly digital work still needs a little empty space.
You need room to:
- write one quick note
- sketch a rough idea
- set down a temporary document
- rest your hands comfortably
- keep the desk feeling calm enough to focus
An organized developer desk is not one that uses every inch efficiently. It is one that still leaves room for the next task.
Keep Cables on One Route
Developer desks often pick up visual noise through cable creep more than through big objects.
A stronger default is:
- keep the active charging cable on one side only
- route display and power lines toward the rear edge
- move spare cables and backup adapters off the surface
- avoid letting cords cross the notebook or mouse path
| Item | Better location | Why it helps |
|---|---|---|
| daily charging cable | one side corner | keeps the center cleaner |
| adapter or dongle | side tray or support zone | prevents tiny tech spread |
| spare cable | drawer, pouch, or shelf | keeps backup gear off the desk |
| headphones | one hook, stand, or side zone | stops them drifting into the work line |
If your hands keep working around cords, the desk is still doing too much.
Better Layouts for Common Developer Desk Setups
Laptop plus monitor coding desk
Best approach:
- decide which screen is primary
- keep the secondary screen from crowding the center
- group charging tools and small tech on one side
- protect one note-taking area below the main screen
If your real issue is balancing devices, read How to Organize a Laptop and Monitor Desk Setup Without Losing Work Surface.
Laptop-only coding desk
Best approach:
- keep the laptop position consistent every day
- use one side for support items only
- avoid turning the back edge into a charging station
- leave one clear notebook or mouse zone
Minimal home office desk for coding and calls
Best approach:
- keep headphones in one predictable spot
- limit visible accessories to daily-use items
- leave the front edge clear for quick notes
- reset the desk after the last call or work block
Where TidySnap Helps
This is where many people stall. They understand the general advice, but when they look at their own setup they still wonder:
- what is making the desk feel busy even when it looks tidy?
- where should the headphones and charger really live?
- what deserves to stay visible all day?
- which part of the setup is stealing space from actual work?
TidySnap helps from a real photo of your desk. It can help you:
- identify which zone is overloaded
- separate daily-use tools from background gear
- reduce cable and accessory spread
- protect the part of the desk you actually work on
- build a layout you can repeat tomorrow
A 10-Minute Reset for a Developer Desk
| Minute | Action | Goal |
|---|---|---|
| 0-2 | remove cups, trash, and unrelated items | clear fast visual noise |
| 2-4 | return the main screen and keyboard area to default | restore the core work zone |
| 4-6 | move headphones, adapters, and notebook into one support zone | reduce accessory spread |
| 6-8 | route cables back to one side or rear path | cut visual friction |
| 8-10 | leave one open area ready for the next session | make the desk easier to restart |
Common Mistakes
The most common mistakes are:
- treating both screens like the center at the same time
- letting the area under the monitor become tech storage
- keeping backup adapters and cables on the surface because they feel work-related
- scattering headphones, notebook, and charging tools into multiple small zones
- using all the empty space instead of preserving one clear work area
FAQ
How do I keep a developer desk minimal without making it inconvenient?
Keep daily-use tools close, but group them into one support zone. The goal is not to remove useful items. It is to stop them from spreading into the center of the desk.
Should my notebook stay on the desk all day?
It can stay nearby, but it should not permanently block the active work zone. Keep one notebook easy to reach and return it to one predictable position when you are done.
What usually makes a coding desk feel cluttered?
Usually it is not one big problem. It is cable creep, too many small tech items staying visible, and a center area that slowly turns into storage instead of workspace.
Do I need more organizers for a cleaner developer desk?
Not always. Many desks improve faster when you choose a primary screen, reduce small-item spread, and keep backup gear off the surface before adding more containers.
Final Thought
A minimal developer desk should still feel like a real working desk.
When the center stays clear, the small tech stays grouped, and the setup leaves room for quick thinking work, the whole desk becomes easier to use and easier to maintain.
If you want help translating that into a visual plan for your own setup, TidySnap can map it from a real desk photo.