How to Organize a Deep Desk Without Letting the Back Edge Become Storage
A deep desk can look generous and still be annoying to work on.
You have room in front of you, but the back half starts collecting things you do not want to deal with yet. A charger stays there because it is technically useful. A notebook slides behind the keyboard. Paper stacks move backward instead of getting finished. A lamp base, headphones, and a few loose tools settle into the rear corners because the front still needs to stay clear enough to work.
That is why a deep desk often feels messy later than a small desk does. The clutter has somewhere to hide.
If you are trying to organize a deep desk, the fix is not filling the extra depth with more organizers. The fix is deciding what the back edge is allowed to do.
Quick answer
If you want to organize a deep desk, start with these rules:
- keep the front half for active work only
- give the back edge one specific job instead of unlimited overflow
- stop pushing half-finished paper away just because it fits
- anchor large items before you place small ones
- keep rear corners from turning into dead storage pockets
- limit how many support items can stay parked behind the screen
- do a short reset so hidden clutter does not survive for weeks
A deep desk works best when the extra depth supports the main work zone instead of competing with it.
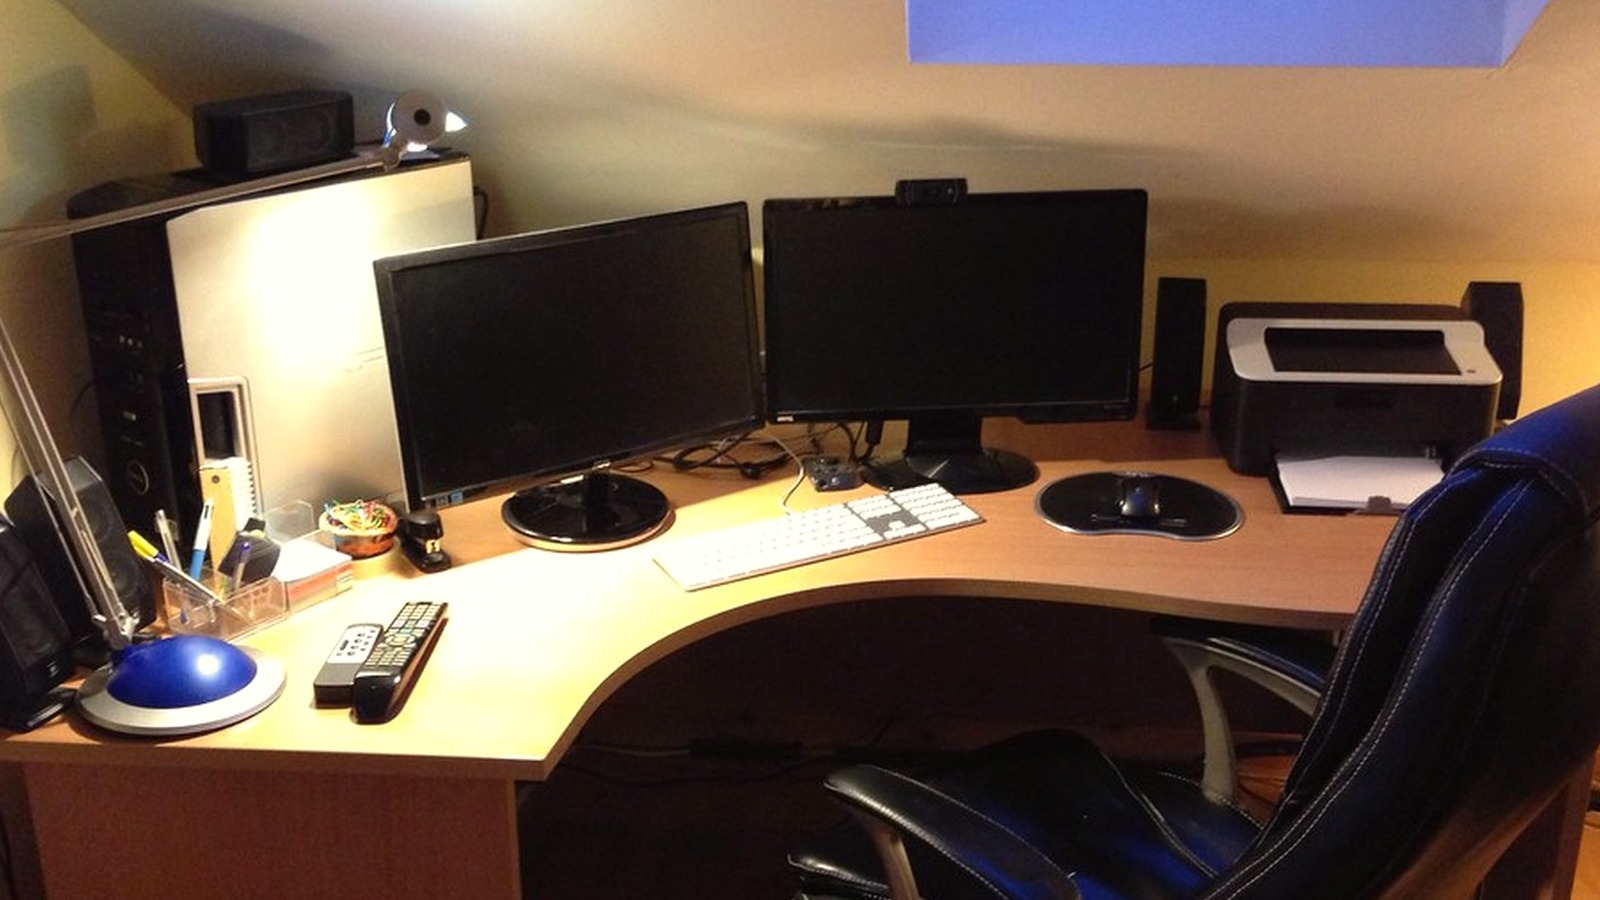
What usually goes wrong on a deep desk
A small desk feels crowded fast, so problems are obvious.
A deep desk creates a slower kind of clutter. The front may still look fine while the back edge keeps absorbing leftovers:
- papers you still need but are not using right now
- chargers and adapters left out just in case
- notebooks that no longer belong to the current task
- decorative items that slowly turn into object walls
- tools you use weekly but keep treating like daily tools
That hidden buildup matters because it changes how the desk feels. Even when your hands still have room, the surface starts looking busy, harder to scan, and easier to avoid resetting.
Set the desk up by distance, not by category
Most deep desks get organized the wrong way at first. People group items by type instead of by reach.
That leads to tidy-looking clusters that still create friction. Pens may be grouped nicely, but they sit farther away than the notebook you are actively using. Papers may be stacked neatly, but they still live behind the keyboard where they are hard to review.
A better approach is to organize a deep desk in three distance bands:
1. Front band: active work only
This is the area your hands should reach without leaning.
Keep it for the task you are doing now:
- keyboard or laptop
- current notebook or writing pad
- one document set you are actively using
- one drink if you keep one at the desk
If an item is not part of the current task, it does not belong in the front band.
2. Middle band: anchored support
This is where stable items can live if they help the setup without crowding your hands.
Good examples:
- monitor base or monitor arm footprint
- dock on one side
- one tray for active paper
- one charging point
- task light
This band should support the work, not become a second dumping zone.
3. Back band: limited parking
The back edge should never become general storage.
Use it only for a short list of items that genuinely make sense there, such as:
- one reference stand
- one low-use supply container
- one decorative object or plant
- one vertical file holder if paper really needs to stay nearby
The moment the back band starts holding unfinished decisions, the whole desk gets harder to maintain.
Treat the back edge like a boundary
The extra depth on a desk feels harmless, which is exactly why it becomes dangerous.
When you are busy, pushing something backward feels like cleaning. In reality, it often means you are delaying a decision while keeping the object in view. That is how the back edge turns into a long strip of unresolved work.
A better rule is simple:
- active now stays in front
- active later goes into one defined holder
- reference material moves to one side or off the desk
- random leftovers do not earn a place at the back
That boundary matters more than buying a shelf, drawer unit, or extra tray.
Watch the rear corners first
On a deep desk, the rear corners usually fail before the center does.
Those corners collect items that feel too useful to remove and too inconvenient to place properly:
- spare cables
- sticky notes
- receipts
- batteries
- unopened mail
- tools from an earlier task
If you want a faster reset, inspect the rear corners before anything else. In many setups, clearing those two pockets changes the whole desk more than reorganizing the middle.
Use one parking zone, not five
A deep desk often creates invisible mini-zones. One pile forms near the lamp. Another builds behind the monitor. A third grows near the charger. None looks dramatic alone, but together they make the surface feel full.
Instead, keep one intentional parking zone for support items that are not active but still belong nearby. That zone might be:
- one shallow tray on the non-dominant side
- one vertical file holder at the back corner
- one small container for cables and adapters
One parking zone is manageable. Several hidden ones are not.
Keep height under control as well as depth
Deep desks do not just accumulate objects across the surface. They also accumulate little walls.
A tall stack of notebooks, a bulky organizer, a pile of paper, and a few decor pieces can make the back half feel visually heavy even if the front is open. That visual weight makes the desk feel more crowded than it is.
If the desk already has plenty of depth, try keeping the back edge lower and simpler than you think it needs to be. A calmer rear line usually makes the entire workspace feel more usable.
A simple reset that works on deep desks
At the end of the day, do a two-minute back-edge reset:
- pull forward anything that is still active
- move finished paper off the desk
- remove items that were only parked temporarily
- clear at least one rear corner fully
- leave tomorrow’s first task in the front band only
That reset works because it targets where deep desks quietly fail.
When TidySnap helps
TidySnap is useful when a deep desk looks “mostly fine” but still feels harder to use than it should. You can upload one photo and get help spotting what is actually active, what is just parked at the back, and which items are making the desk feel visually heavier than necessary.
Final thought
The advantage of a deep desk is not that it can hold more. It is that it can hold work more comfortably.
If the back edge becomes storage, you lose that advantage. If the extra depth stays controlled, the whole workspace feels clearer, easier to scan, and easier to reset.